Configure Concerto Infrastructure Lifecycle
![]() For supported software information, click here.
For supported software information, click here.
This article describes how to configure features in the Concerto Infrastructure lifecycle.
View and Modify Analytics Clusters
For Releases 13.1.1 and later.
When you add a Director node, Concerto automatically discovers the Analytics clusters connected to the node. The clusters can be designated as types primary, secondary, and unknown. Clusters are designated as unknown by default.
The following are the Analytics cluster types:
- Primary—The main Analytics cluster used for log collection and analytics queries. When a tenant is associated with a Director, the Primary analytics cluster is used by default for that tenant's analytics data. Node health is periodically checked by the Concerto application. If all Primary analytics cluster nodes are unreachable, Secondary analytics cluster nodes are used for analytics data.
- Secondary—A backup/standby analytics cluster that is available but not actively used for tenant analytics queries. Secondary clusters can be promoted to Primary through the Edit Analytics Cluster dialog. They provide redundancy in case the Primary cluster becomes unavailable.
- Unknown—The default type assigned to a newly discovered analytics cluster before an administrator has explicitly designated it as Primary or Secondary. Unknown clusters are treated similarly to Primary clusters for tenant analytics lookups.
To view and modify Analytics clusters:
- In Service Provider view, select Infrastructure > Analytics Cluster.
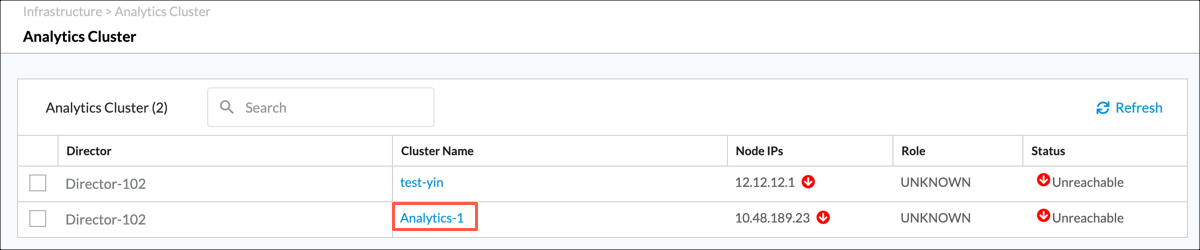
- To edit the type for an Analytics cluster, click its name in the Cluster Name column. The following screen displays.

- Select the node type and then click Switch Node.
Add an Analytics Aggregator
For Releases 11.4.1 and later.
If your topology includes multiple DCA complexes, Analytics data for a single tenant might be distributed in separate Analytics clusters. In this case, you must use one or more Analytics aggregator nodes to combine tenant data from the Analytics clusters to produce reports. In Concerto, you can configure an Analytics aggregator cluster containing multiple aggregator nodes. For redundancy, if a single aggregator node in a cluster goes down, Concerto uses the remaining aggregator nodes to provide data for reports. To increases performance, Concerto load balances its requests for Analytics data across the nodes in the aggregator cluster.
Unlike a typical cluster, the nodes in an aggregator cluster do not share or sync data with each other. The aggregator nodes retain only basic data, such as tenant names, and perform only minimal database operations. The aggregator nodes contained in the cluster are configured independently; see Configure Analytics Aggregator Nodes.
To configure an Analytics aggregator cluster:
- Go to Infrastructure > Analytics Aggregator.

The Analytics Aggregator screen displays.

- Click + Analytics Aggregator to add a new aggregator cluster. The Create Analytics Aggregator screen displays. Note that if you have already configured an Analytics aggregator cluster, you cannot configure a second cluster, and the + Analytics Aggregator button is grayed out.
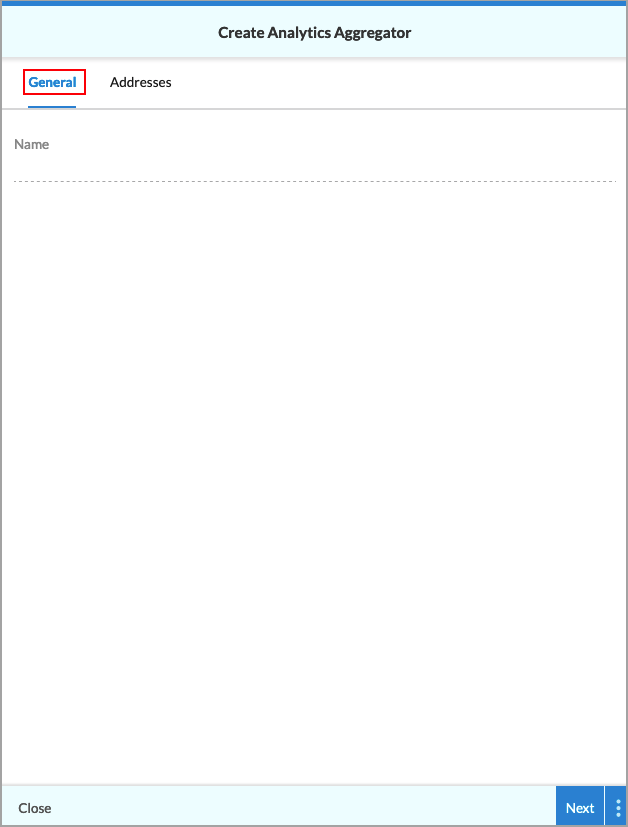
- Select the General tab, and then enter a name for Analytics aggregator cluster in the Name field.
- Select the Addresses tab. The following screen displays.
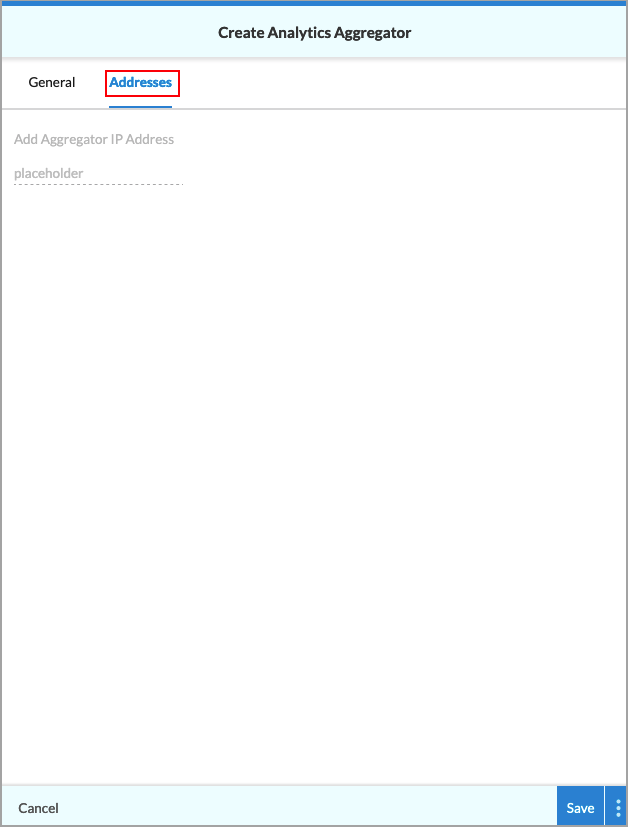
- Enter the IP address for the first Analytics aggregator node, and then press Enter.
- Optionally, enter the IP address for one or more additional Analytics aggregator nodes, pressing Enter after entering each IP address.
- Click Save to create the Analytics aggregator cluster. The main Analytics Aggregator screen shows the configured cluster.
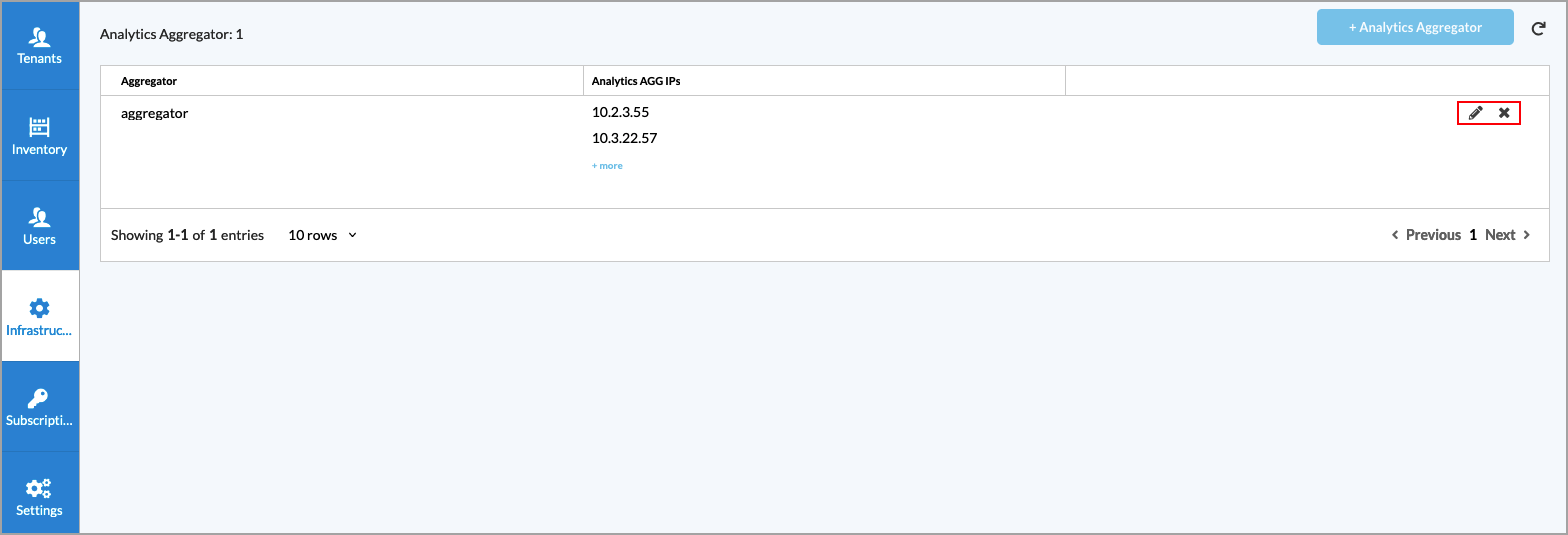
- To edit the Analytics Aggregator, click the
 Edit icon. To delete it, click the
  Delete icon.
View System Health
You can view the status of the system using the System Health screens. The system health screens are:
- Cluster Status
- Database Status
- Service Status
For more information, see DRAFT: Monitor Concerto Nodes and Software.
Add an ATP/DLP Instance
For Releases 12.1.1 and later.
Configuring an advanced threat protection (ATP) or data loss prevention (DLP) cloud instance provides credentials to the Versa Cloud Gateway (VCG), which allows the VCG to connect to the cloud sandboxing service. For more information, see Configure Advanced Threat Protection and Configure Data Loss Prevention.
You use the ATP/DLP instances while configuring tenants. For more information, see Configure SASE Tenants.
To configure an ATP/DLP instance:
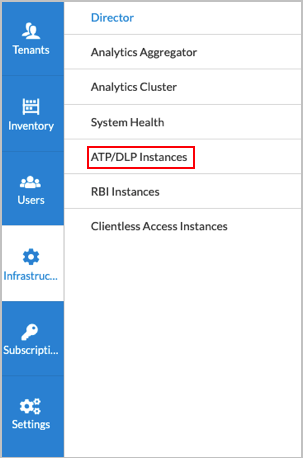
- Go to Infrastructure > ATP/DLP Instances.
The following screen displays.
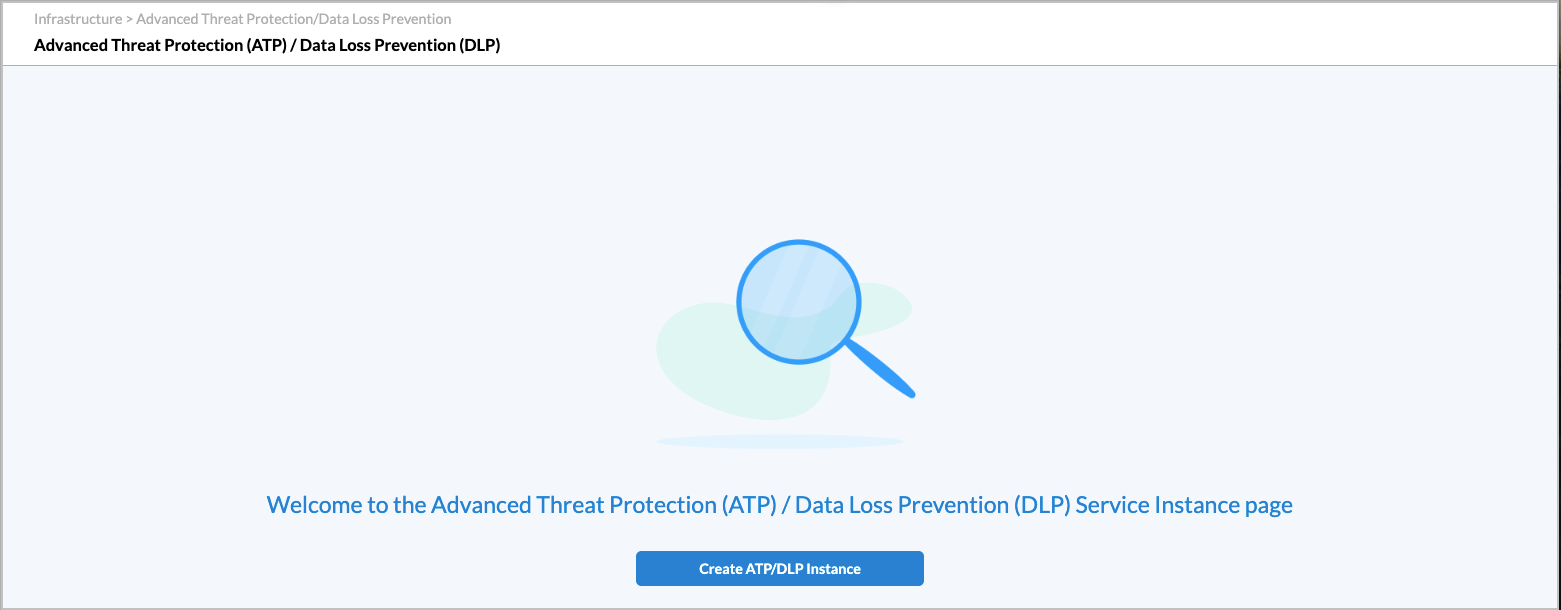
- Click the Create ALP/DLP Instance button. In the Add ATP/DLP popup window, enter information for the following fields.
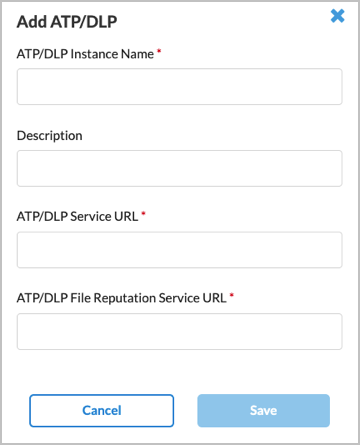
Field Description ATP/DLP Instance Name (Required) Enter a name for the ATP/DLP cloud instance. Description Enter a text description for the ATP/DLP instance. ATP/DLP Service URL (Required) Enter the URL for the VCG to use for the ATP/DLP cloud instance; ATP/DLP File Reputation Service URL (Required) Enter the FQDN for the VCG to use for the ATP/DLP cloud instance. - Click Save.
Add an RBI Instance
For Releases 12.1.1 and later.
Remote browser isolation (RBI) is a cloud-based solution that provides zero-trust access to browser-based applications. Configuring an RBI cloud instance provides the VCG with credentials to connect to the cloud RBI service. For more information, see Configure Remote Browser Isolation.
You use RBI instances when configuring tenants. For more information, see Configure SASE Tenants.
To configure an RBI instance:
- Go to Infrastructure > Remote Browser Isolation (RBI).

The following screen displays.

- Click Add RBI Instance.
- In the Add RBI window, enter information for the following fields.
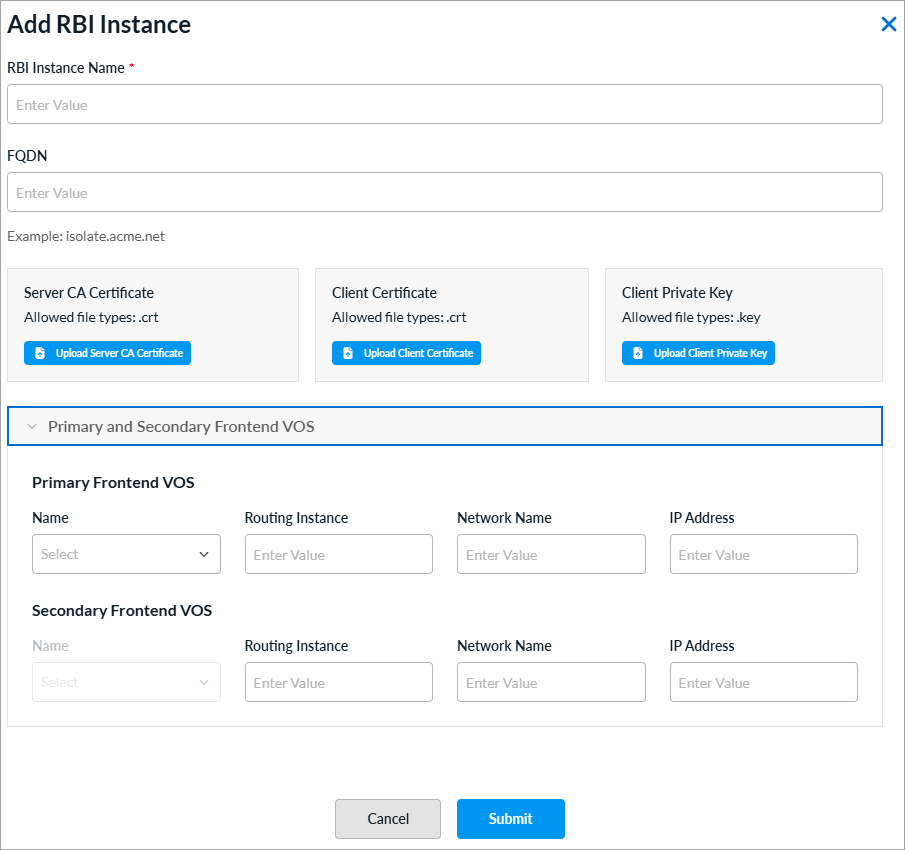
Field Description RBI Instance Name (Required) Enter a name for the RBI instance. FQDN Enter the FQDN for the VCG to connect to the cloud service. Server CA Certificate (Releases 13.1.1 and later.) Click Upload Server Certificate to upload the Certificate Authority (CA) certificate that verifies the identity of the RBI server. This certificate establishes trust with the server by confirming that its SSL/TLS certificate is issued by a recognized and trusted authority, and it authenticates the server during secure communications.
The file must be in CRT format.
Client Certificate (Releases 13.1.1 and later.) Click Upload Client Certificate to upload the client-side certificate that identifies and authenticates this instance to the RBI server. This certificate is presented during mutual TLS (mTLS) handshakes, which enables the server to verify that the connecting client is authorized to establish a connection.
The file must be in CRT format.
Client Private Key (Releases 13.1.1 and later.) Click Upload Client Private Key to upload the private key that corresponds to the client certificate. This key is used to sign and encrypt communications during the TLS handshake, proving ownership of the client certificate. You must keep it confidential and it must match the public key embedded in the uploaded Client Certificate.
The file must be in KEY format.
Primary Frontend VOS (Releases 13.1.1 and later.) - Name
Enter a name for the primary RBI instance. - Routing Instance
Enter a routing instance for the primary RBI instance. - Network Name
Enter a network for the primary RBI instance. - IP Address
Enter an IP address for the primary RBI instance. Secondary Frontend VOS (Releases 13.1.1 and later.) - Name
Enter a name for the secondary RBI instance. - Routing Instance
Enter a routing instance for the secondary RBI instance. - Network Name
Enter a network for the secondary RBI instance. - IP Address
Enter an IP address for the secondary RBI instance. - Click Save.
Add a Clientless Access Instance
For Releases 13.1.1 and later.
Versa Concerto allows you to access your desktop remotely using Apache Guacamole, which is a cloud-based, clientless remote desktop gateway. Guacamole supports standard protocols such as HTTP/HTTPS, virtual network computing (VNC), remote desktop protocol (RDP), and secure shell (SSH). You must configure one or more clientless access instances for clientless remote access. For more information about configuring clientless applications, see Configure Clientless Applications in Concerto.
To add a clientless access instance:
- Go to Infrastructure > Clientless Access Instance.
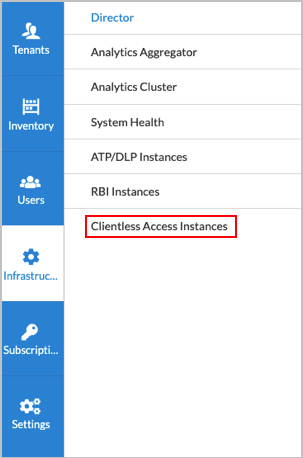
The following screen displays.

- Click Add Clientless Access Instance.
- In the Add Clientless Access Instance window, enter information for the following fields.

Field Description Clientless Access Instance Name (Required) Enter a name for the clientless access instance. Description Add a description of the instance. Tenant Name (Required) Enter the name of the tenant for the instance. API Username Enter the username to identify the user or application accessing the API. Password Enter the password associated with the API username. Frontend VOS (Required) Select a VOS device to use as the front end for the clientless access instance. The VOS device provides connectivity from the SASE gateway to the Guacamole server. Loopback Address (Required) Enter the loopback address of the front end VOS device. VNI Interface (Required) Select a virtual network interface (VNI). VLAN ID (Required) Enter a VLAN ID for the VNI interface.
Range: 0 through 4094
Default: None
Install a CA Certificate
You can upload a certificate to a web server so that Concerto can establish a secure connection with a valid certificate.
To upload and install a CA certificate:
- Combine the certificate and the CA chain into a single file, and name the file ecp.crt.
- Ensure that the private key for the certificate is named ecp.key.
Note: Do not encrypt the private key. Concerto does not support encrypted private keys.
- On any one of the Concerto cluster nodes, upload the two files to the /var/versa/ecp/share/certs folder.
- Update the file ownership and permissions.
sudo chmod 775 /var/versa/ecp/share/certs ecp.*
sudo chown versa:versa /var/versa/ecp/share/certs ecp.*
- Restart the Versa services.
vsh restart
Supported Software Information
Releases 11.4.1 and later support all content described in this article, except:
- Release 12.1.1 allows you to add instances for ATP/DLP and RBI.
- Release 13.1.1 adds support for System Health and Clientess Access Instances in the Infrastructure lifecycle; you can designate an Analytics cluster to be primary or secondary; for RBI, you can upload CA certificate, client certificate, and client server key files; you can configure primary frontend VOS and secondary frontend VOS devices for RBI.