Configure Custom Malware Protection Profiles
![]() For supported software information, click here.
For supported software information, click here.
Malware is malicious software that is specifically designed to disrupt computers and computer systems. There are many types of malware, including computer viruses, worms, Trojan viruses, spyware, adware, and ransomware. Among the things malware can do is leak private information, gain unauthorized access to information or systems, and deprive users of access to information.
By default, Versa SASE provides a predefined security enforcement policy to protect against malware. This article describes how you can configure custom malware protection profiles.
To configure a custom malware-filtering profile:
- Go to Configure > Security Service Edge > Real-Time Protection > Profiles.
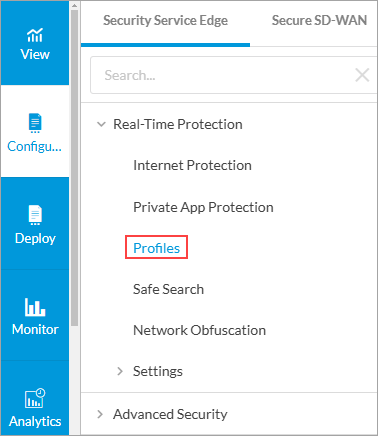
The following screen displays.

- Select the Malware Protection and IPS tab, and then select the Malware Protection subtab.
Note: In Release 12.2.2, the Malware Protection subtab was moved under the new Malware Protection & IPS tab.
- Click + Add to add a new malware-filtering profile. The Create Malware Protection Profile screen displays.

- Select the protocols to scan for malware:
- FTP
- HTTP
- IMAP
- MAPI
- POP3
- SMB
- SMTP
- Select the types of files to scan for malware. Use the search box to find specific file types. Check the Select All box to select all file types.
- Scroll to the bottom of the screen, and then select the direction of the traffic on which to perform the malware scan. By default, the Download and Upload option.

- Click Next to go to the Action screen.

- Select the enforcement action to take when traffic matches the malware profile:
- Alert
- Allow
- Deny (default)
- Recommended Action
- Reject
Note: If traffic matches both the Allow and Deny actions, the Deny action takes precedence over the Allow action.
- Click Next.
- In the Review and Submit screen, enter a name for the malware protection profile and, optionally, a description and one or more tags. A tag is an alphanumeric descriptor, with no white spaces or special characters, that you can use to search the objects.

- Click the Enable Logging slider to send logs to Versa Analytics.
- Review the remaining entries. To make changes, click the
 Edit icon.
 - Click Save to add the malware protection profile.
Supported Software Information
Releases 11.3.1 and later support all content described in this article, except:
- In Release 12.2.2, the Malware Protection subtab was moved under the new Malware Protection & IPS tab.
Additional Information
Configure Offline Custom Malware Protection Profiles
Configure Profiles