Install on VMware ESXi
![]() For supported software information, click here.
For supported software information, click here.
This article describes how to install the Versa headend components on a VMware platform.
To install an Analytics, a Concerto, or a Director device, the ESXi server must be running ESXi Version 6.7.0 Update 2 or later.
Install Versa Analytics on VMware ESXi
- Log in to the VMware ESXi server.

The VMware ESXi home page displays. The screen shows information about virtual machines (VMs), storage, hardware, configuration, and other system information.

- In the left navigation bar, click Virtual Machines, and then click Create/Register VM.

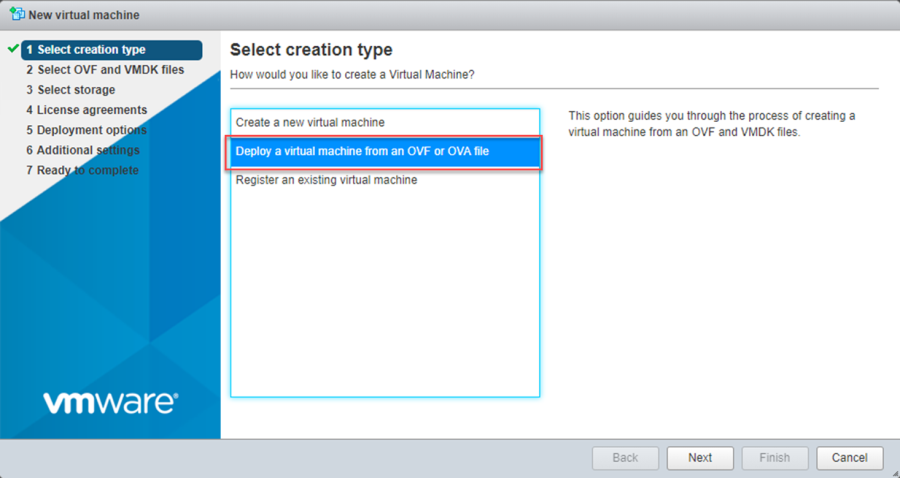
- In the New Virtual Machine window, click Select Creation Type.
- Click Deploy a Virtual Machine from an OVF or OVA File.
- Click Next.

- In the Select OVF and VMDK Files window, type a name for the virtual machine (typically, Versa_Analytics).
- Select Click to Select Files or Drag/Drop to upload the OVF and VMDK files.
- Click Next.

- Select Click to Select Files or Drag/Drop to upload the OVF and VMDK files.
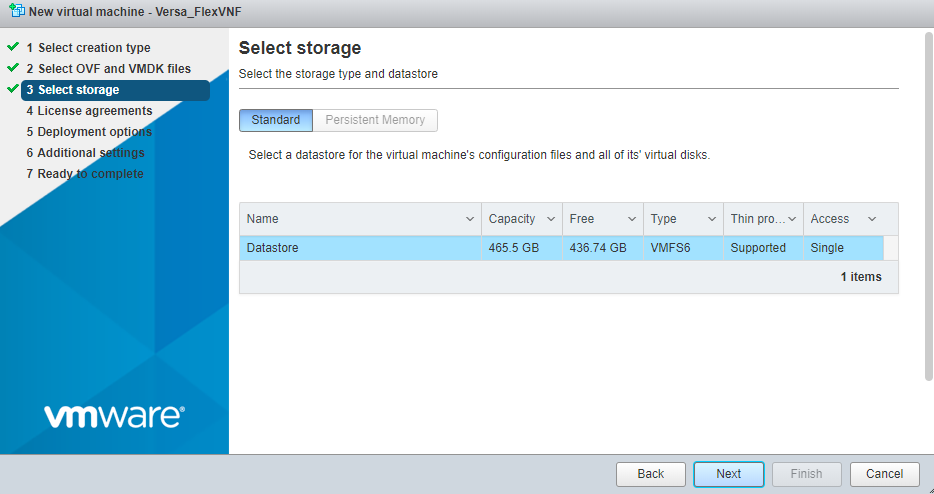
- In the Select Storage window, click the Standard tab.
- Select a datastore to use for the VM's configuration files and all the VM's virtual disks.
- Click Next.

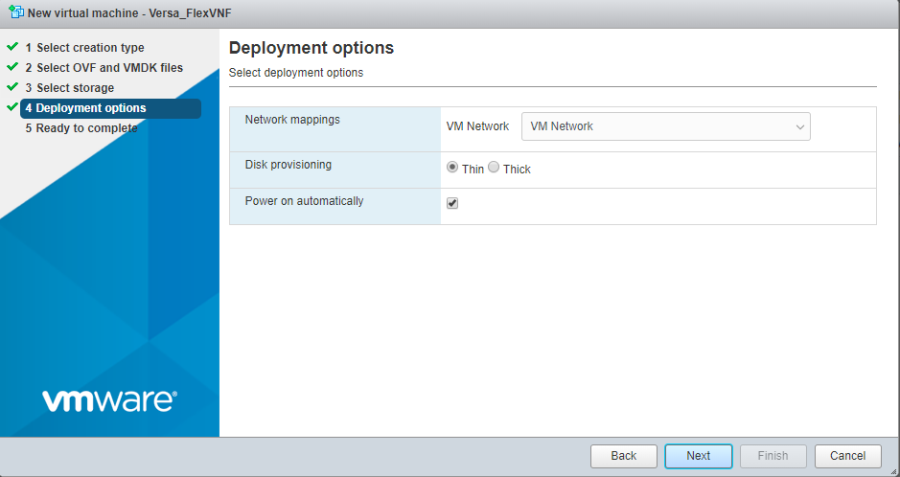
- In the Deployment Options window, select your deployment options and click Next.
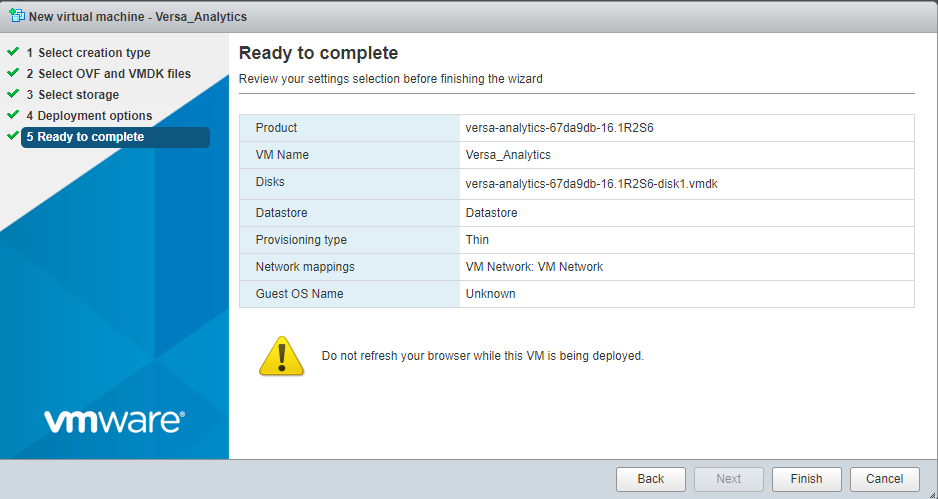
- In the Ready to Complete window, review the settings for the new VM and click Finish.
- In the left navigation bar, click Virtual Machines to see the Versa Analytics VM that you created.

- Launch Versa Director on the VMware ESXi VM:
- Select the Versa Analytics VM.
- In the top menu bar, click Power On. A terminal window displays.
- Click in the black terminal window.
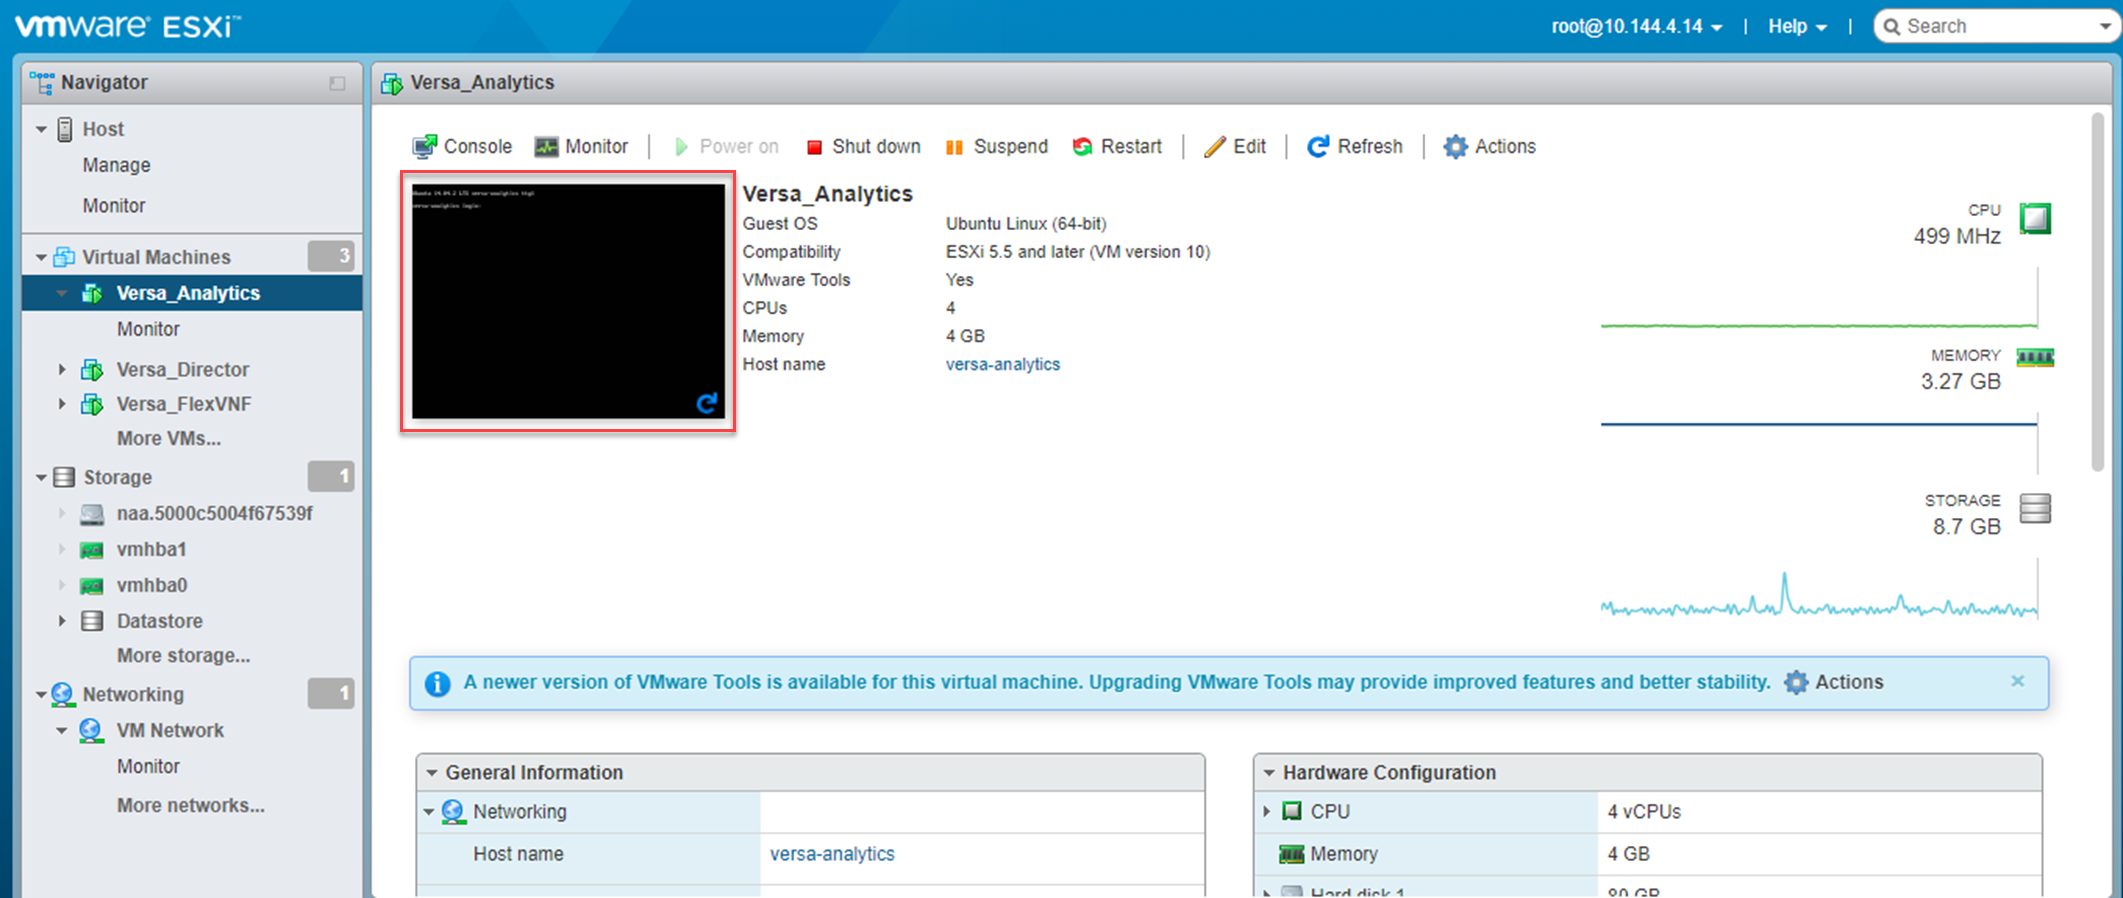
- Log in to Versa Analytics using the default username and password (contact Versa Technical Support for the default username and password). The Versa Analytics banner displays.

Install Versa Director on VMware ESXi
- Log in to the VMware ESXi server.

The VMware ESXi home page displays. The screen shows information about virtual machines (VMs), storage, hardware, configuration, and other system information.

- In the left navigation bar, click Virtual Machines, and then click Create/Register VM.

- In the New Virtual Machine window, click Select Creation Type.
- Click Deploy a Virtual Machine from an OVF or OVA File.
- Click Next.

- In the Select OVF and VMDK Files window, type a name for the virtual machine (typically, Versa_Director).
- Select Click to Select Files or Drag/Drop to upload the OVF and VMDK files.

- Click Next.

- Select Click to Select Files or Drag/Drop to upload the OVF and VMDK files.
- In the Select Storage window, click the Standard tab.
- Select a datastore to use for the VM's configuration files and all the VM's virtual disks.
- Click Next.

- In the Deployment Options window, select your deployment options and click Next.

- In the Ready to Complete window, review the settings for the new VM and click Finish.

- In the left navigation bar, click Virtual Machines to see the Versa Director VM that you created.

- Launch Versa Director on the VMware ESXi VM:
- Select the Versa Director VM.
- In the top menu bar, click Power On. A terminal window displays.
- Click in the black terminal window.

- Log in to Versa Director using the default username and password (contact Versa Technical Support for the default username and password). The Versa Director banner displays.

Install Versa SD-WAN Controller on VMware ESXi
- Log in to the VMware ESXi server.

The VMware ESXi home page displays. The screen shows information about virtual machines (VMs), storage, hardware, configuration, and other system information.
- In the left navigation bar, click Virtual Machines, and then click Create/Register VM.
- In the New Virtual Machine window, click Select Creation Type.
- Click Deploy a Virtual Machine from an OVF or OVA File.
- Click Next.
- In the Select OVF and VMDK Files window, type a name for the virtual machine (typically, Versa_FlexVNF, which is another name for a Versa Operating SystemTM [VOSTM] device).
- Select Click to Select Files or Drag/Drop to upload the OVF and VMDK files.

- Click Next.

- Select Click to Select Files or Drag/Drop to upload the OVF and VMDK files.
- In the Select Storage window, click the Standard tab.
- Select a datastore to use for the VM's configuration files and all the VM's virtual disks.
- Click Next.
- In the Deployment Options window, select your deployment options and click Next.
- In the Ready to Complete window, review the settings for the new VM and click Finish.
- In the left navigation bar, click Virtual Machines to display the VOS VM that you created.

- Launch Versa VOS on the VMware ESXi VM:
- Select the Versa VOS VM.
- In the top menu bar, click Power On. A terminal window displays.
- Click in the black terminal window.

- Log in to the VOS device using the default username and password (contact Versa Technical Support for the default username and password). The VOS banner displays.

Install VMS on VMware ESXi
- Log in to the VMware ESXi server.
The VMware ESXi home page displays. The screen shows information about VMs, storage, hardware, configuration, and other system information.
- In the left navigation bar, click Virtual Machines, and then click Create/Register VM.
- In the New Virtual Machine window, click Select Creation Type.
- Click Deploy a Virtual Machine from an OVF or OVA File.
- Click Next.
- In the Select OVF and VMDK Files window, type a name for the virtual machine (typically, VMS).
- Select Click to Select Files or Drag/Drop to upload the OVF and VMDK files.
- Click Next.

- In the Select Storage window, click the Standard tab.
- Select a datastore to use for the VM's configuration files and all the VM's virtual disks.
- Click Next.
- In the Deployment Options window, select your deployment options and click Next.
- In the Ready to Complete window, review the settings for the new VM and click Finish.

- In the left navigation bar, click Virtual Machines to see the VMS VM that you created.

- Launch Versa Director on the VMware ESXi VM:
- Select the VMS VM.
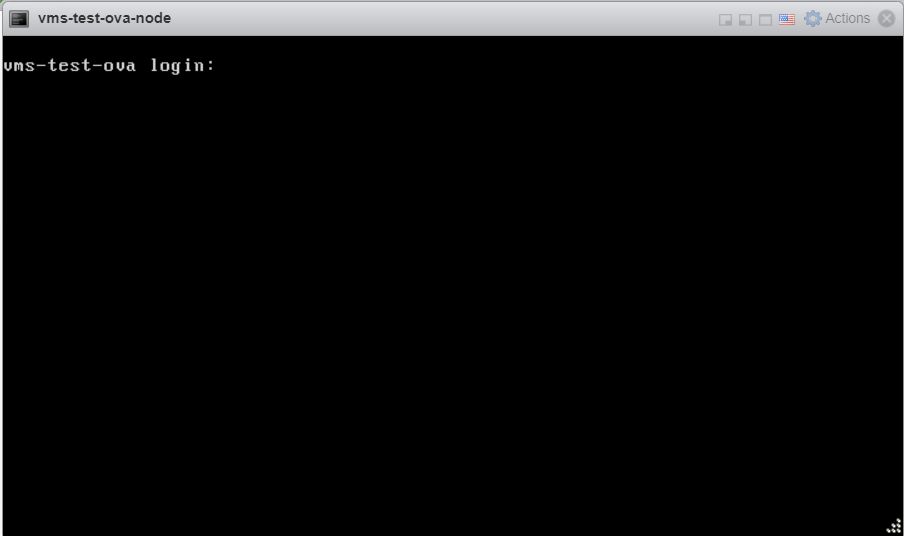
- In the top menu bar, click Power On. A terminal window displays.
- Click in the black terminal window.

- Log in to VMS using the default username and password (contact Versa Technical Support for the default username and password). The Versa Networks banner displays.

Supported Software Information
Releases 20.2 and later support all content described in this article.