Configure Virtual Wires
![]() For supported software information, click here.
For supported software information, click here.
A virtual wire allows you to establish a connection between two interfaces that do not have any IP addresses. A virtual wire operates between physical interfaces at Layer 2 similar to a switch or bridge. The interacting interfaces can contain sub-interfaces. You can configure virtual wires only for Virtual Network Interface (vni) and Aggregated Ethernet (ae) interfaces.
By configuring a virtual wire as a switch, you can send the traffic from one interface to another interface without any packet modification. Versa software can apply stateful firewall services to the traffic passing through the virtual wires.
You can create a virtual wire only if there are two similar interfaces (vni or ae) available. For example, you can use virtual wire between vni-0/1 and vni-0/2 or ae-0/1 and ae-0/2 and not vni-0/1 and ae-0/1.
Note: You cannot delete an interface that is used in a virtual wire. To delete such interfaces, you must first delete the virtual wire using them. Before adding a virtual wire for interfaces, ensure that you select the Virtual Wire check box in the Add Ethernet Interface screen while configuring interfaces.
To configure a virtual wire:
- In Director view:
- Select the Configuration tab in the top menu bar.
- Select Devices > Devices in the horizontal menu bar.
- Select an organization in the left menu bar.
- Select a Controller node in the main pane. The view changes to Appliance view.
- Select the Configuration tab in the top menu bar.
- Select Networking > Virtual Wires in the left menu bar.

- Click the
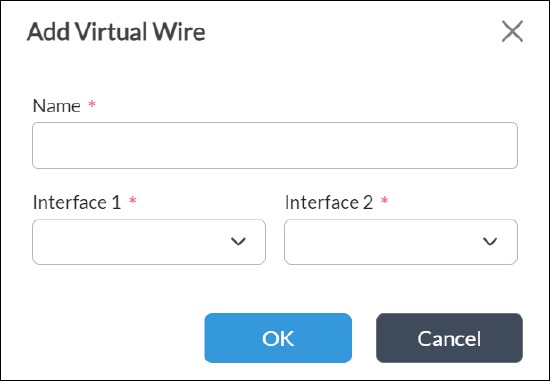
 Add icon. In the Add Virtual Wire popup window, enter information for the following fields.

Field Description Name (Required) Enter a name for the virtual wire. Interface 1 (Required) Select the egress interface. Interface 2 (Required) Select the egress interface. - Click OK.
Supported Software Information
Releases 20.2 and later support all content described in this article.
