Configure SD-WAN User and Device Authentication
![]() For supported software information, click here.
For supported software information, click here.
You can create policies and rules to authenticate both the users and the devices that enter a secure SD-WAN network. You can authenticate the users and devices before the gateways route the traffic to internet or private applications.
To define rules for user and device authentication, you can select applications and URLs, source and destination traffic, IP addresses, and services as match criteria to decide when to authenticate users. You can also create rules with match criteria for users who you do not want to authenticate.
You configure user and device authentication profiles to specify the authentication type for user authentication. You use the authentication profiles in user and authentication rules to specify the method to authenticate users who match the authentication rule criteria.
Configure User and Device Authentication Policies
To configure a user and device authentication policy for secure SD-WAN users and groups:
- Go to Configure > Secure SD-WAN > Profile Elements > Policies > User and Device Authentication > Policy.
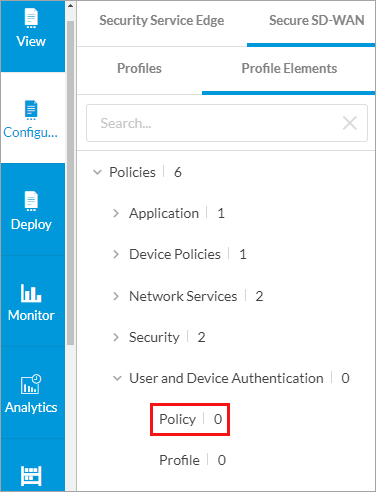
The User and Device Authentication Policy screen displays.

- To create a new user and device authentication policy, click + Add. The Add User and Device Authentication Rule displays the first step of the workflow.
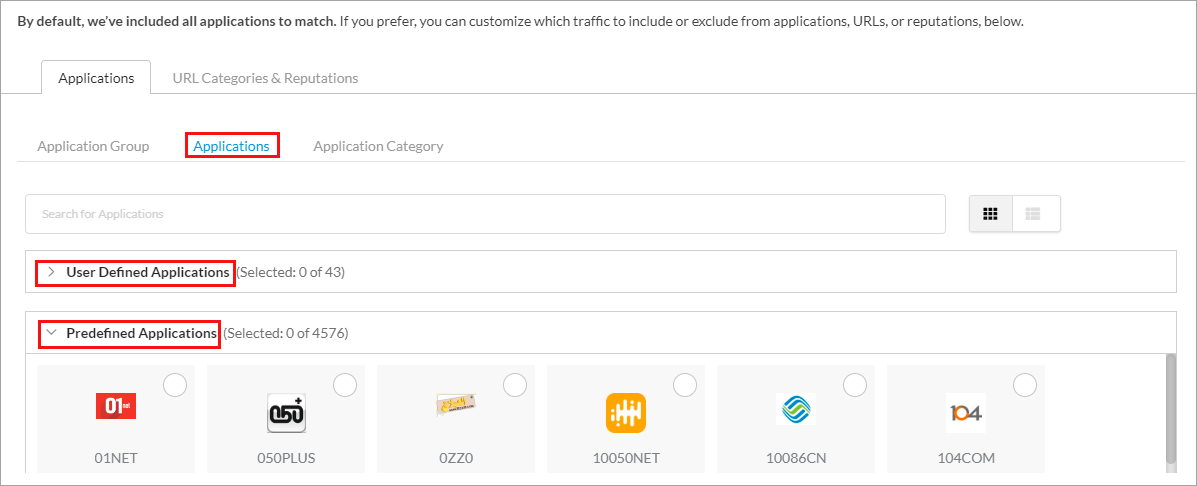
- In Step 1, Applications and URLs, the Applications tab and the Application Group tab are selected. By default, all applications, URLs, and reputations are included in the match criteria.

- To select specific application groups to include in the match criteria, click User-Defined Application Groups, Predefined Application Groups, or both. Then select the application groups for the rule to match. Use the Search bar to find specific application groups.
- Select the Applications > Applications tab, and then select one or more user-defined or predefined applications for the rule to match. Use the Search bar to find specific applications.
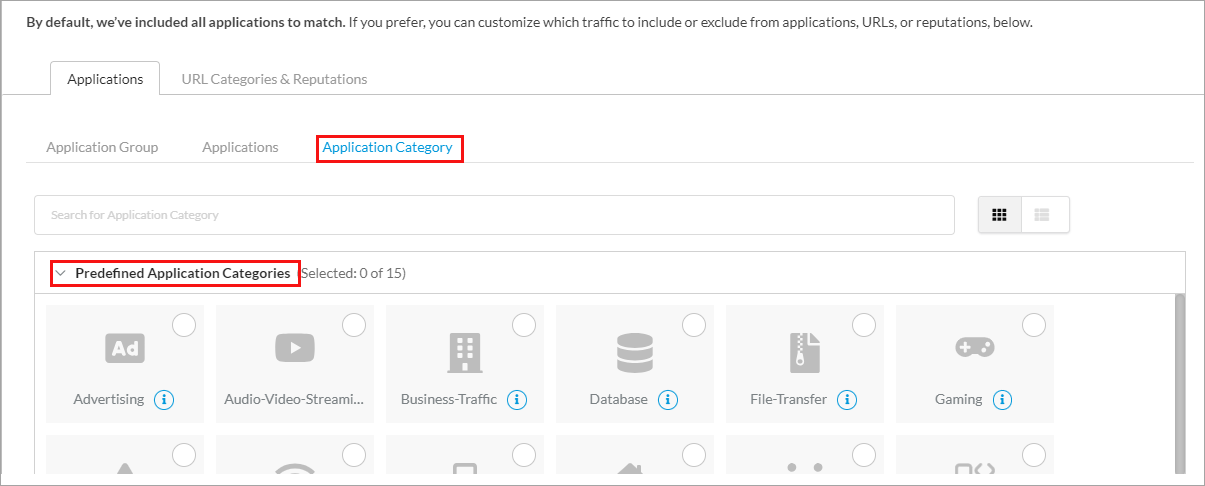
- Select the Applications > Application Category tab, and then select one or more predefined application categories for the rule to match.
- Select the URL Categories and Reputations tab. The following screen displays.

- In the URL Categories field, click the down arrow, and then select one or more URL categories for the rule to match.
- In the Reputations field, click the down arrow, and then select one or more reputations for the rule to match:
- High risk
- Low risk
- Moderate risk
- Suspicious
- Trustworthy
- Undefined
- Click Next or select Step 2, Source and Destination Traffic. The following screen displays, and the Source Address tab is selected. By default, all source and destination traffic is included. You can specify which source and destination traffic to include in the match criteria.

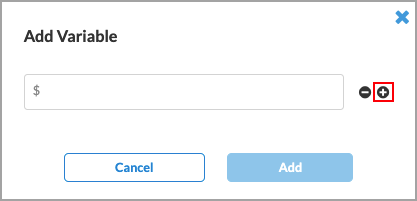
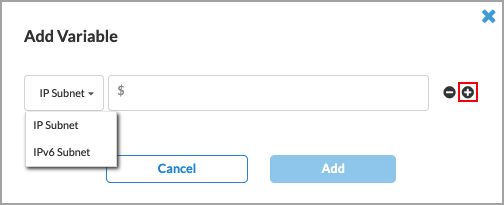
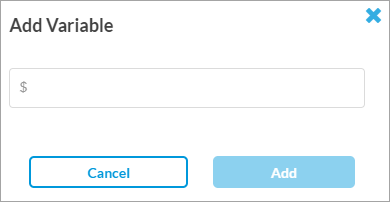
- Select a source address group for the rule to match, or use the search box to find a source address group. You can click + Add Variable to create a variable for the source address. Enter a name for the variable, click the
 Plus icon, then click Add. You can add multiple variables before clicking the Add button.
.png?revision=1) <
<
You can also enter values in any of the following fields for the rule to match: IP Address or IP Range, IP Subnet, or IP Wildcard. You can click + Add Variable to create variables for these values, and you can add multiple variables for each one.- To add a variable for the IP address or IP range, select IPv4 Address, IPv4 Range, or IPv6 Address, click the Plus icon, and then click Add.

- To add a variable for the IP subnet, select IP Subnet or IPv6 Subnet, click the
Plus icon, and then click Add.
- To add a variable for the IP wildcard, enter a name for the variable, click the
Plus icon, and then click Add.
- To add a variable for the IP address or IP range, select IPv4 Address, IPv4 Range, or IPv6 Address, click the
- Click the Destination Address tab, and then select a destination address group for the rule to match or use the search box to find a source address. Then, enter values in any of the following fields for the rule to match: IP Address or IP Range, IP Subnet, or IP wildcard. You can click + Add Variable to create variables for these values. For more information about adding variables, see Steps 13 and 14.

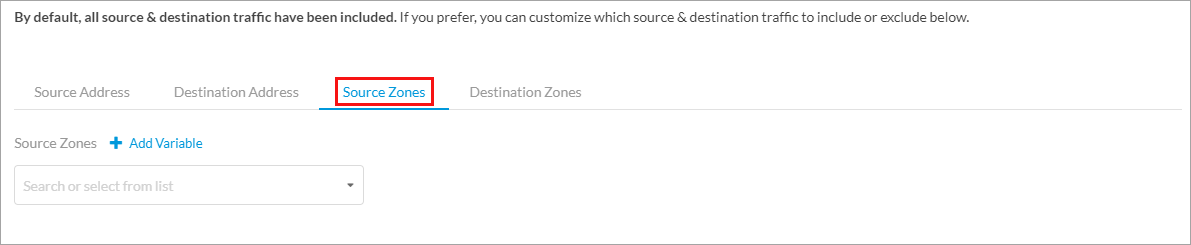
- Select the Source Zones tab to specify source zones to include in the match criteria. Select one or more source zones from the list, or use the search box to find source zones. To create a variable for the source zone, click
Add Variable.
- Select the Destination Zones tab to specify destination zones to include in the match criteria. Select one or more destination zones from the list, or use the search box to find destination zones. To create a variable for the source zone, click
Add Variable.

- Click Next or select Step 3, Service and DSCP. The following screen displays, and the Services tab selected. By default, all services, service groups, and DSCPs are included in the match criteria. You can specify the services, service groups, and Differentiated Services Code Points (DSCPs) for the rule to match.

- To specify the services to include, do one or both of the following:
- In the search box under Services, enter the service name.
- Click All Services, and then select one of the following categories to filter the list:
- Predefined
- User Defined
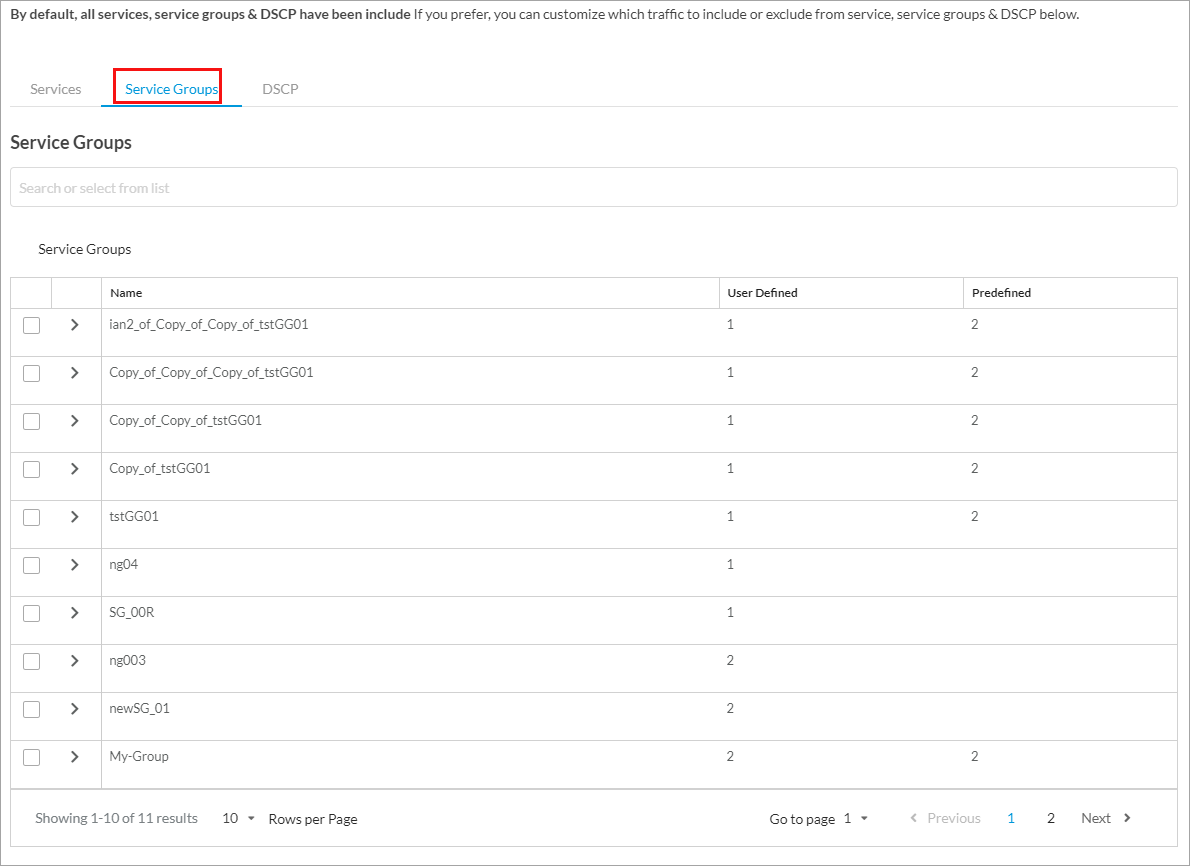
- Select the Service Groups tab, and then select the user-defined and predefined service groups to which to apply security access control rules. Click the
 Row Expand icon next to the service group name to view the details for each service group.
- Select the DSCP tab. By default, all DSCP decimal values are included in the match criteria. You can specify which DSCP decimal values to include.

- Select one or more DSCP decimal values, or use the search to locate one or more values.
- Click Next to go to Step 4, Action.

- If you do not want to authenticate users for the match criteria that you selected in Step 1, click Do Not Authenticate.
- If you want to use a profile to specify the authentication type, click Authenticate Using User and Group Profile, and then select a profile that you configured in Configure User and Device Authentication Profiles, below.

- Click Next to go to Step 5, Permissions.
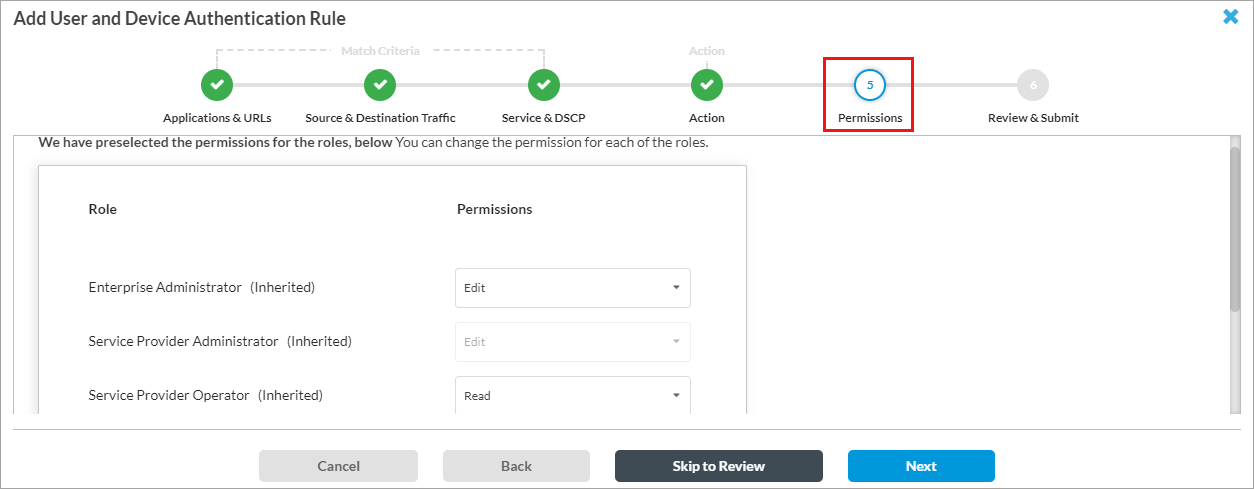
- To change the permissions for a role, select Edit, Hide, or Read in the Permissions column.
- Click Next to go to Step 3, Review and Submit.

- In the General section, enter a name for the rule. Optionally, enter a description and add tags for the rule.
- By default, the rule is enabled. Toggle to disable the rule.
- To enable logging for the rule, slide the toggle to Enabled.
- Click the Edit icon next to any section to make changes.
- Click Save.
Configure User and Device Authentication Profiles
To specify the authentication type to use for user authentication, you configure user and device authentication profiles. For each enterprise, you can configure profiles for Lightweight Directory Access Protocol (LDAP), RADIUS, Security Assertion Markup Language (SAML), and Versa Directory. You can configure both an LDAP and a SAML profile for an enterprise, but for RADIUS and Versa Directory profile , you can configure only one for each enterprise. You can configure user and device certificate-based profiles with each other, or with LDAP or SAML authentication profiles.
LDAP is a client–server protocol that allows a network device to access an LDAP server, which provides directory services that store descriptive attribute-based information. When an end user sends a request to access a webpage, the Versa Operating SystemTM (VOSTM) device accesses the LDAP server to validate the user. Based on the authentication result, the user is either authenticated or their authentication request is denied. You can configure either a user-based or group-based policy to allow or deny traffic.
RADIUS is a distributed client–server system that secures networks against unauthorized access. A RADIUS server provides an external database that you can use to authenticate users before allowing them to access a network, a device, or related services.
SAML authenticates users so that they can access multiple services and applications. SAML is useful when you want to access multiple services or applications and have authentication for each service or application, for example, Google and its related services. SAML is a common standard for exchanging authentication between parties and is most commonly used for web browser-based single sign-on (SSO).
With Versa directory authentication, you upload lists of users and groups for authentication purposes. You can also add individual users and groups using the GUI.
To configure user and device authentication profiles:
- Configure > Secure SD-WAN > Profile Elements > Policies > User and Device Authentication > Profile.

The User and Device Authentication Profile screen displays.

- To create a new profile, click + Add. The Add User and Device Authentication Profile screen displays.

- Select the type of authentication to configure from these options: LDAP, RADIUS, SAML, or Versa Directory.
- Click Get Started.
- In Step 1, Settings, configure the settings for the selected authentication type:
- For the LDAP authentication type, enter information for the following fields.

Field Description Server Type Select the server type:
- Active Directory
- Open LDAP
+ Add Variable Click to create a variable for parameters. Enter a name for the variable, and then click Add. You can add multiple variables. The Add Variable screen is the same for all parameters.
Select Either FQDN or IP Address Click FQDN or IP Address, and then enter the FQDN or IP address of the Active Directory or LDAP server.
Click + Add Secondary Server to add another server of the same type. In the Add Secondary Server popup window, enter the required information, and then click Add.
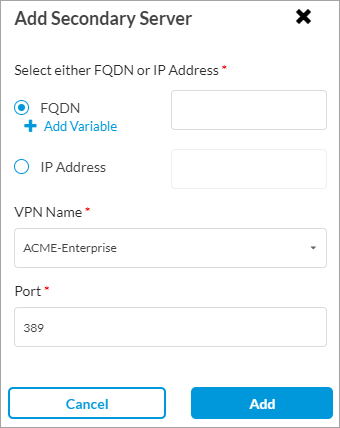
VPN Name Select the name of the tenant VPN to use to reach the LDAP server. Port Enter the listening port number on the LDAP server, which allows you to communicate with the LDAP directory service.
Range: 0 through 65535
Default: None
Enable SSL Click the slider to enable SSL for the LDAP session.
Click the slider again to disable SSL for the LDAP session.

SSL Mode If you enable SSL, select the SSL mode for the LDAP session:
- LDAPS—Use secure LDAP (LDAP over SSL)
- STARTTLS—Use LDAP over TLS
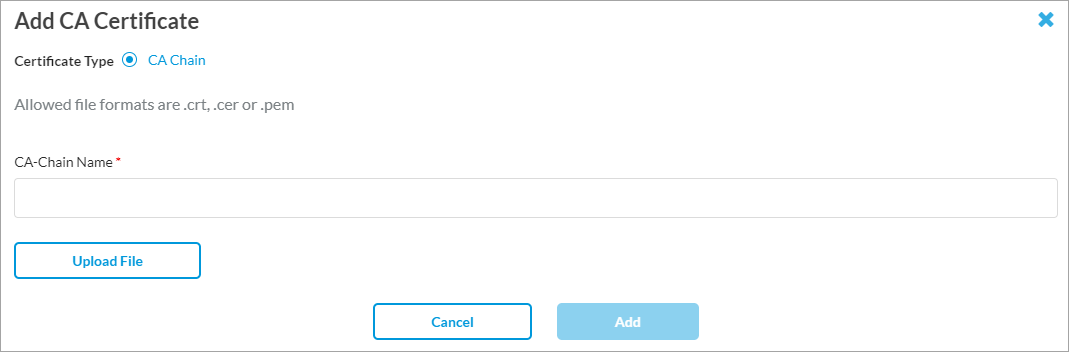
CA Certificate If you enable SSL, select the certificate authority (CA) certificate to use for the secure LDAP connection. To add a new CA certificate, click + Add New, and the enter the required information.
Bind DN Enter the bind distinguished name (DN) to use when logging in to the LDAP server. Bind Password Enter the password that the bind DN uses when logging in to the LDAP server. Base DN Enter the base DN to use when an LDAP client initiates a search. Domain Name Enter the domain name to use for LDAP searches, for example, versa-networks.com. Domain Base Enter the name of the base domain. - For the SAML authentication type, enter information for the following fields.

Field Description Select SAML Type Select the SAML type:
- Azure Active Directory
- Google IAM
- Office 365
- Okta
- Other
- PingIdentity
+ Add Variable Click to create a variable for parameters. Enter a name for the variable, and click Add. You can add multiple variables. The Add Variable screen is the same for all parameters.
Device Host FQDN Enter the host FQDN of the user device. Single Sign-on URL (Required) Enter the URL of the identify provider (IdP) to use for single sign-on. Single Sign-out URL Enter the URL to point to for single sign-out. Service Provider Entity ID (Required) Enter the entity ID of the service provider. Service Provider Certificate Select the certificate that the service provider uses to authenticate. Identity Provider Entity ID (Required) Enter the entity ID that uniquely identifies the SAML IdP. Identity Provider Certificate (Required) Select the authentication certificate issued by the IdP. Prefix ID Enter the name of the external IdP. Cache Expiry Time Enter the time, in minutes, for cache expiry, after which the live user record expires. On reaching the cache expiry time, the user record expires and the user gets logged out.
Default: 10 minutes
Group Attribute Enter the SAML group attribute to identify group value from the SAML response. - For the RADIUS authentication type, enter information for the following fields.

Field Description IP Address (Required) Enter the IP address of the RADIUS server. Port (Required) Enter the port number to use on the RADIUS server. VPN Name Select the VPN instance to use to connect to the RADIUS server. Shared Secret Enter the RADIUS shared secret (password) string. Cache Expiry Time Enter the time, in minutes, after which cache for the authentication profile expires.
Default: 10 minutes
- For the Versa Directory authentication type, enter the time, in minutes, for cache expiry, after which the live user record expires. On reaching the cache expiry time, the user record expires and the user gets logged out. The default is 10 minutes.

- For the LDAP authentication type, enter information for the following fields.
- Click Next.
- In Step 2, User and Group Profile, configure the users and groups for the selected authentication type.
- For LDAP authentication, enter information for the following fields.
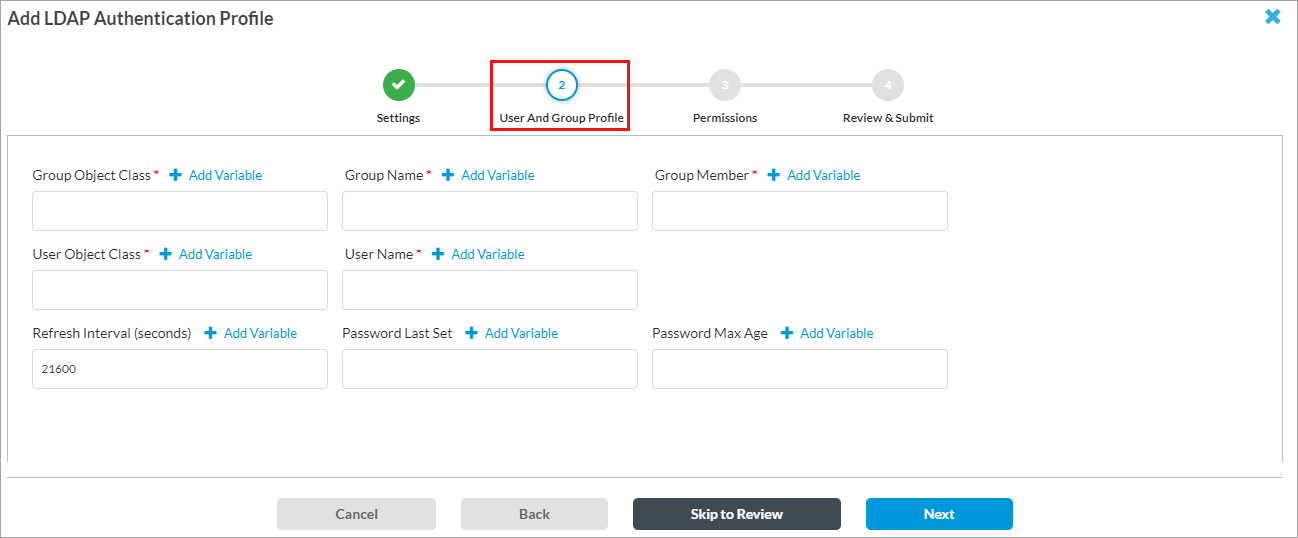
Field Description + Add Variable Click to create a variable for parameters. Enter a name for the variable, and click Add. You can add multiple variables. The Add Variable screen is the same for all parameters.
Group Object Class (Required) Enter the group object class provided by your administrator. Group Name (Required) Enter the group name provided by your administrator. Group Member (Required) Enter the group member provided by your administrator. User Object Class (Required) Enter the user object class provided by your administrator. User Name (Required) Enter the format of the username, for example, User Principal Name. Refresh Interval Enter how often to refresh the LDAP profile information, in seconds.
Range: 60 through 86400 seconds
Default: 21600 seconds
Password Last Set Enter the time when the user password was last set or updated. Password Max Ageimum Enter the validity period of the password. - For SAML, RADIUS, and Versa Directory authentication, enter information for the following fields.
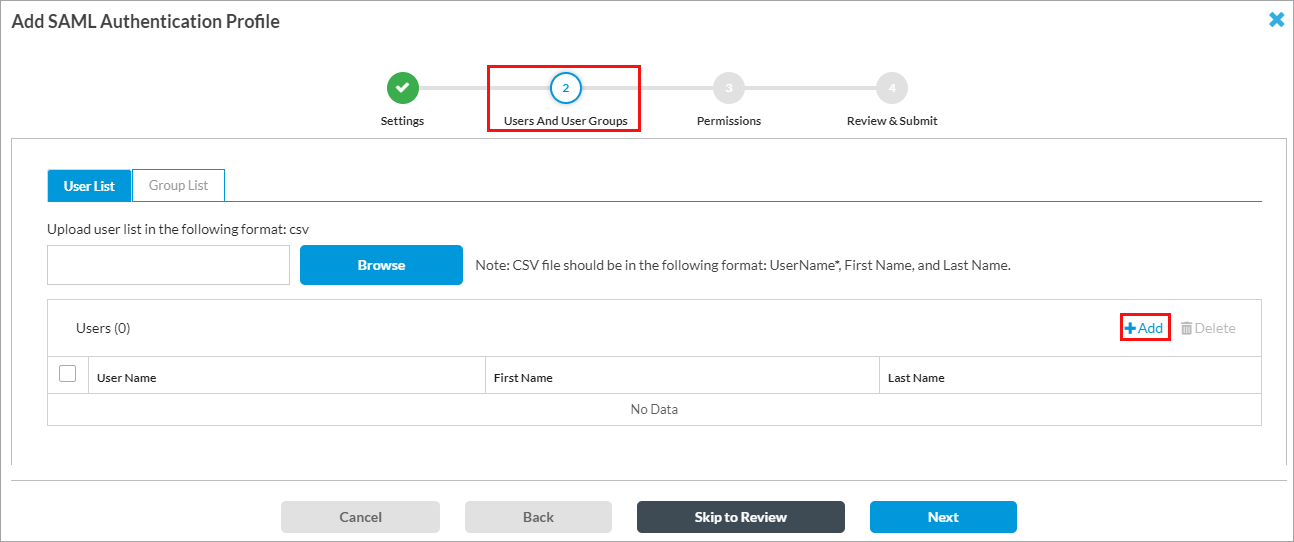
Field Description User List Tab Click Browse. In the popup window, select a user list file in CSV format to upload. Each line in the CSV file must be in the following format:
- User Name*, First Name, Last Name, Password*, Email*, Phone, Description, Group Name. (Note that fields marked with an asterisk (*) are mandatory.)
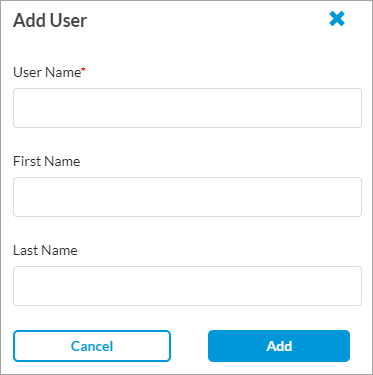
+ Add Click + Add to add a new user. In the Add User screen, enter the required information. When you select LDAP or SAML as the authentication type, the following screen displays
For Versa Directory, the following screen displays when you click + Add to add a user:
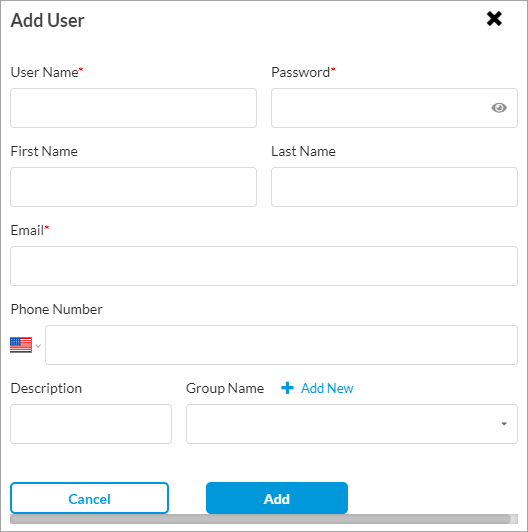
Click + Add New to add a new user group, as shown below in the Groups List tab.
Group List Tab Select the Group List tab and click Browse. In the popup window, select a user group file in CSV format to upload. Each line in the CSV file must be in the following format:
- Group Name*, Description
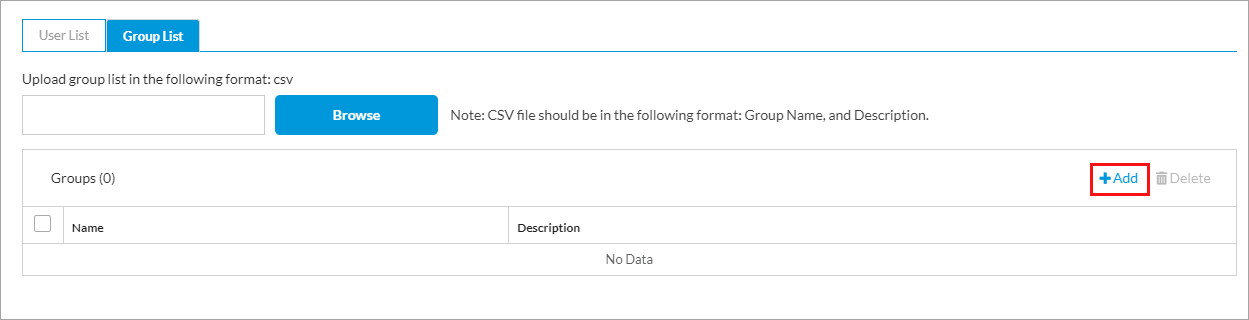
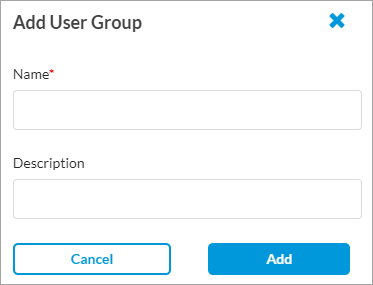
+ Add Click + Add to add a new user group. In the Add User Group screen, enter the required information.
- For LDAP authentication, enter information for the following fields.
- Click Next.
- In Step 3, Permissions, set or update the permission for each role. The roles are Enterprise Administrator, Enterprise Operator, Service Provider Administrator, and Service Provider Operator. The permission for each role is selected by default, and you can update it. The role permissions are Edit, Hide, and Read. This screen is common for all authentication types.

- Click Next to go to Step 4, Review and Submit. The following screen is common for all authentication types.
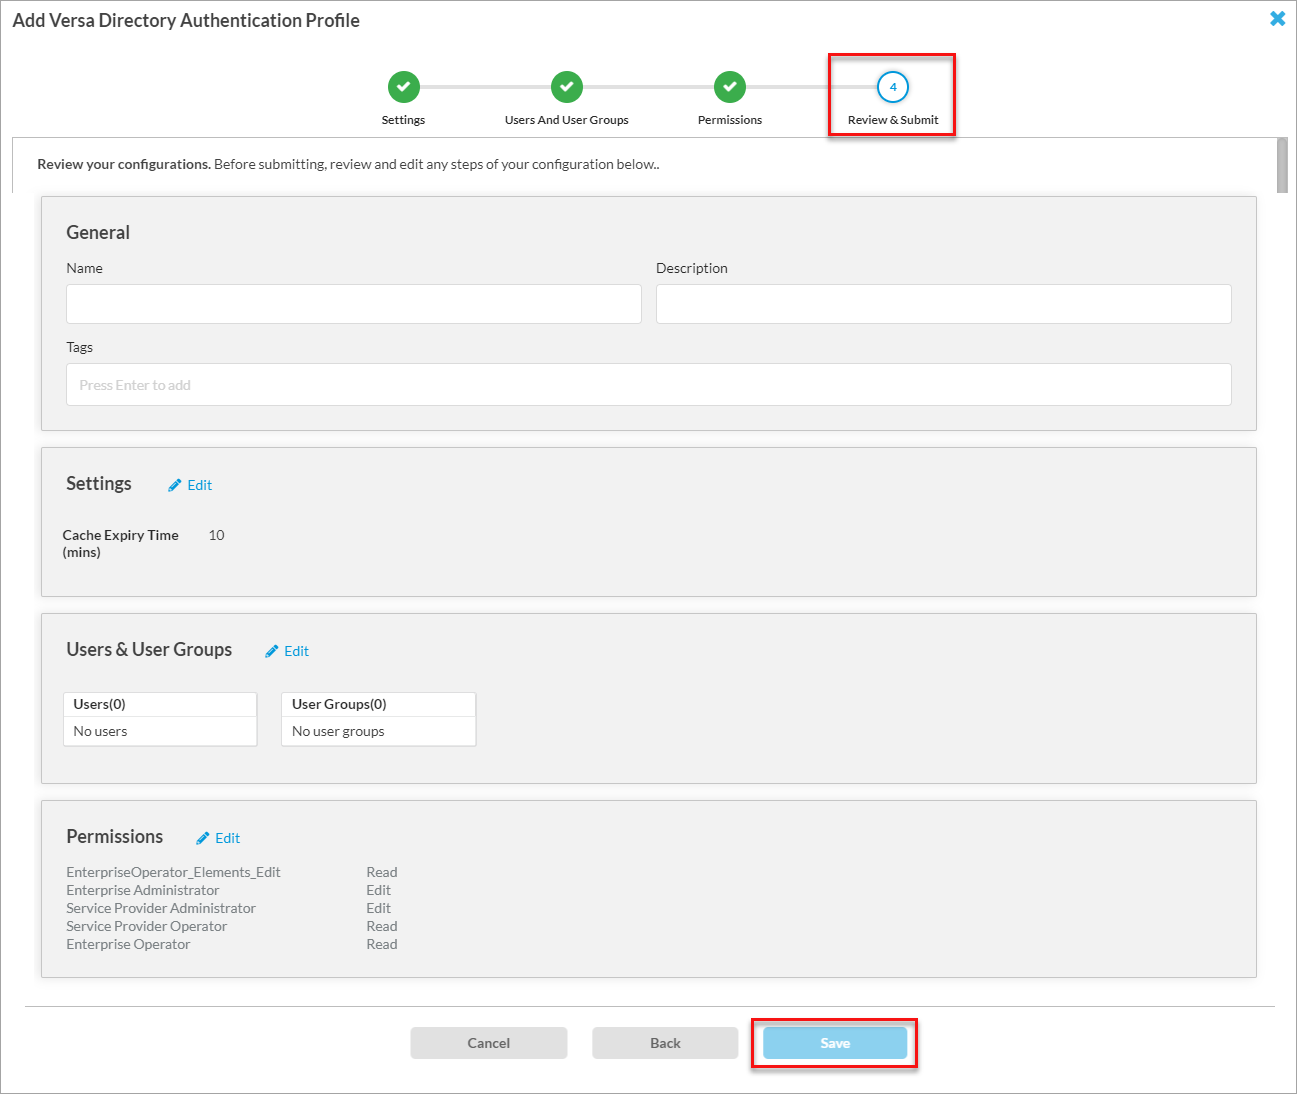
- In the General box, enter a name for the rule, and optionally, enter a text description for the rule and one or more tags.
- Review the selected settings. Click the
 Edit icon to change a setting, as needed.
 - Click Save to create the authentication profile.
Supported Software Information
Releases 12.1.1 and later support all content described in this article.