Configure Scheduled Notifications for Concerto
![]() For supported software information, click here.
For supported software information, click here.
You can configure notifications that display when you log in to Concerto. These notifications, which you configure at the Concerto system level, are active and display in a notifications popup window during the configured time period. You can edit, delete, or mark as read a notification, and view a scheduled notification at any time.
Configure Scheduled Notifications
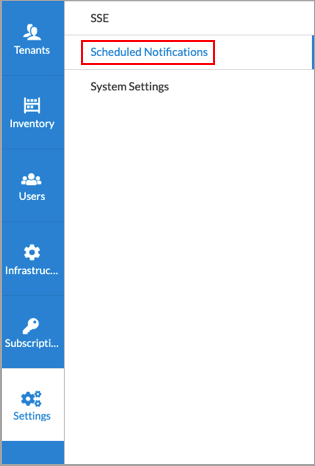
- Go to Settings > Scheduled Notifications.
- In the Scheduled Notifications screen, click + Add New Notification.

- In the Create Notification popup window, enter information for the following fields.

Field Description Notification Title Enter a name for the scheduled notification. Notification Message Enter the text of the message to include in the notification. Active Time Period (Group of Fields) - From
Enter a start date in the day-month-year format dd-mm-yyyy, or click the Calendar icon and select a date. - Time
Enter a start time in the hour-month format hh:mm, and then select a.m. or p.m. - To
Enter an end date in the day-month-year format dd-mm-yyyy, or click the Calendar icon and select a date. - Time
Enter an end time in the hour-month format hh:mm, and then select a.m. or p.m. Infrastructure Info (Group of Fields) - Infrastructure Type
Select the infrastructure type:
- Concerto
- Device
- Director
- Tenant
- Infrastructure Name
For all infrastructure types except Concerto, select an infrastructure name. - Click Save. The new notification displays in the Scheduled Notifications screen.

Manage Scheduled Notifications
After you create a scheduled notification, a Notifications popup for the scheduled notifications displays when you log in to Concerto.
To edit or delete a notification, select the notification, and then click the ![]() Edit or
Edit or ![]() Delete icon.
Delete icon.

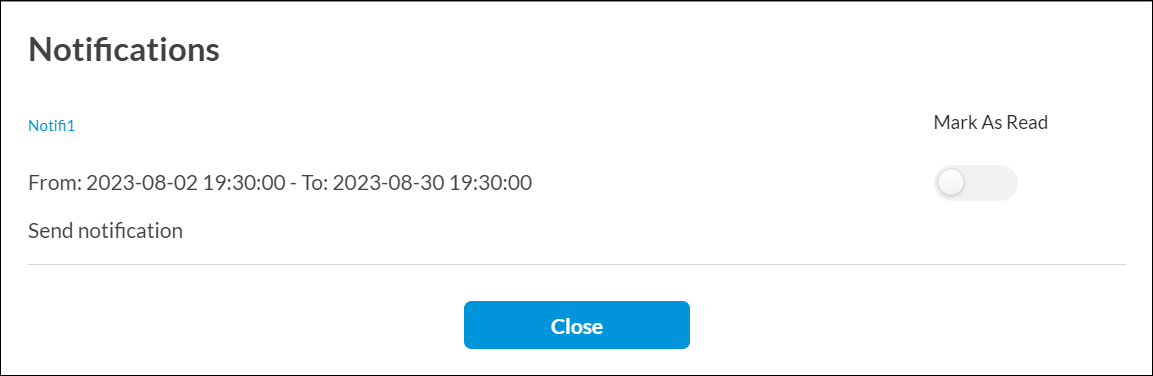
To view scheduled notifications, in the Notifications popup window, click the notification title.

To mark a notification as read, in the Notifications popup window, click the toggle button, and then click Close. The notifications popup window closes.
To view the scheduled notifications that have been marked as Read, in the Administrator drop-down menu, select Notifications.

Supported Software Information
Releases 11.4.1 and later support all content described in this article.